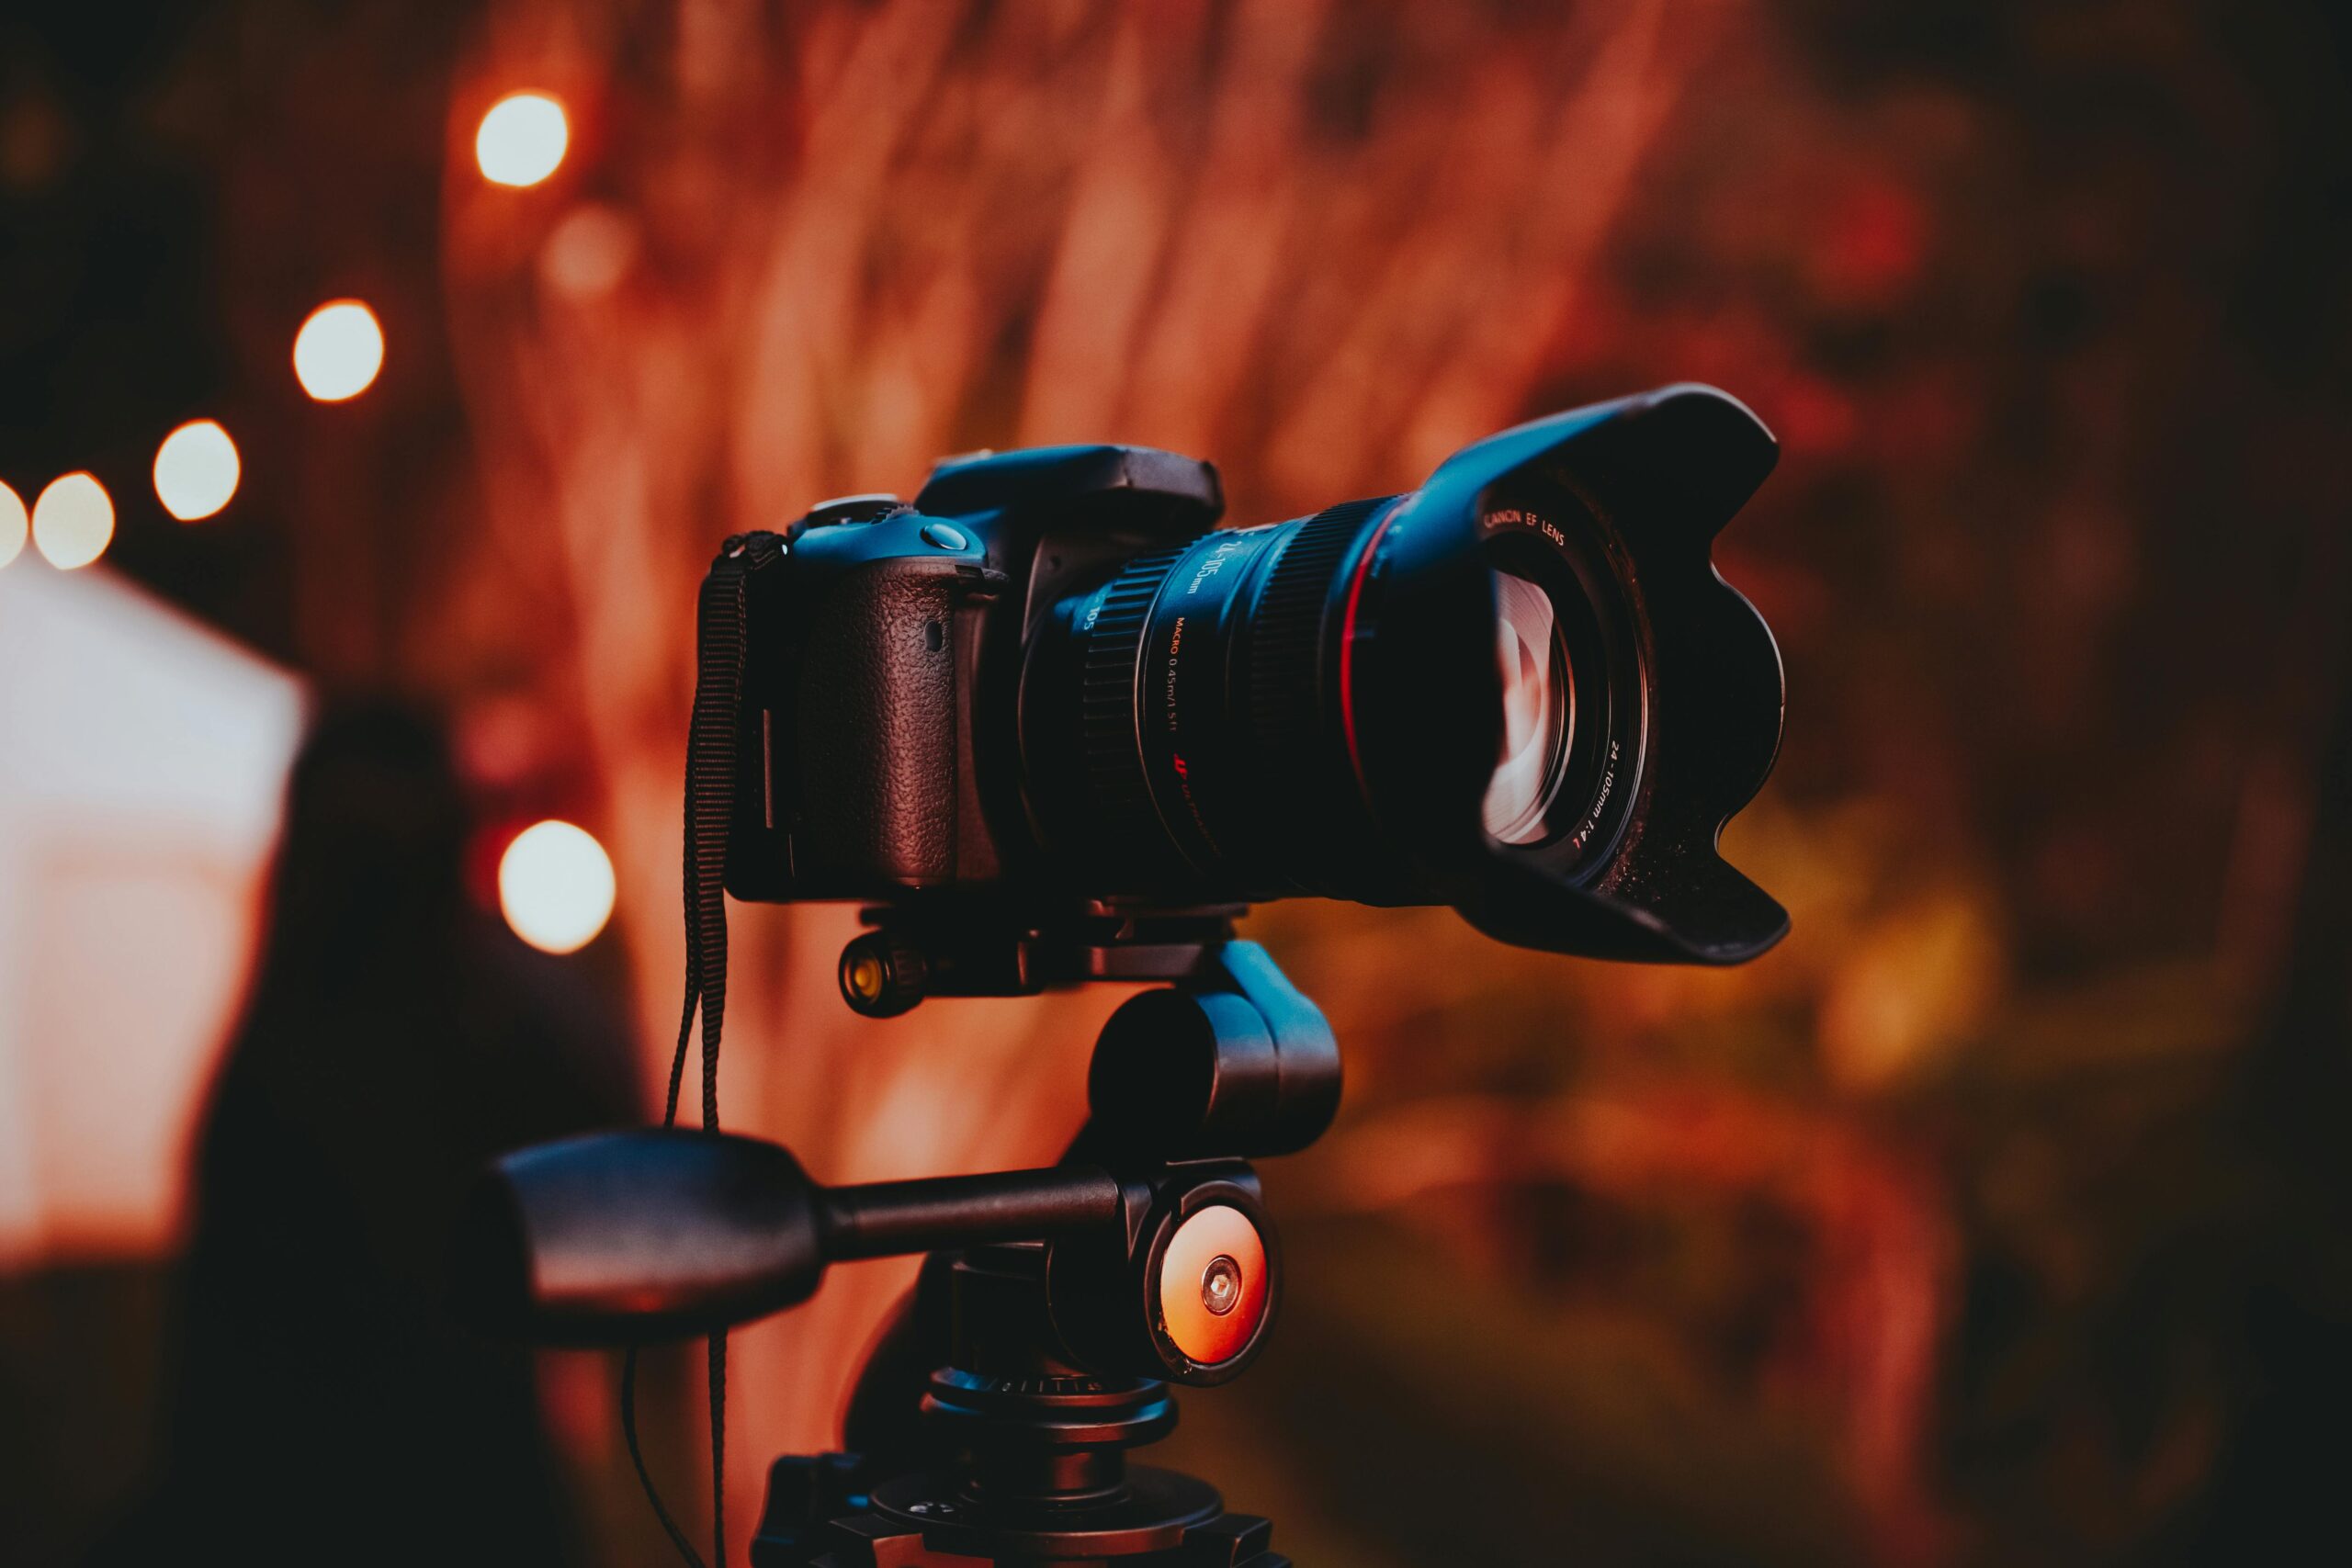
Unlock Your Creativity: Mastering Manual Mode on Your Camera
Photography is more than just pointing and shooting—it’s about taking control and making artistic choices. One of the best ways to elevate your photography is by stepping out of automatic mode and into manual mode. If you’re new to this, don’t worry! Manual mode may seem intimidating at first, but with a little practice, you’ll unlock your camera’s full potential. Here’s how to get started:
The Basics of Manual Mod
When you switch to manual mode, you control three main settings: shutter speed, aperture, and ISO. These are the building blocks of any photo.
- Shutter Speed:
- Controls how long your camera’s sensor is exposed to light.
- A fast shutter speed (e.g., 1/1000) freezes motion, while a slow shutter speed (e.g., 1/30) creates motion blur. Pro Tip: Use a tripod for slower shutter speeds to avoid shaky shots.
- Aperture (f-stop):
- Determines how much light enters the lens. A lower f-number (e.g., f/2.8) creates a shallow depth of field with a blurry background, while a higher f-number (e.g., f/16) keeps everything in focus. Pro Tip: Use a wide aperture (low f-number) for portraits and a narrow aperture (high f-number) for landscapes.
- ISO:
- Controls your camera sensor’s sensitivity to light. A low ISO (e.g., 100) produces sharp, clear images, while a high ISO (e.g., 3200) is better for low-light situations but may introduce noise. Pro Tip: Keep ISO as low as possible for the best image quality.
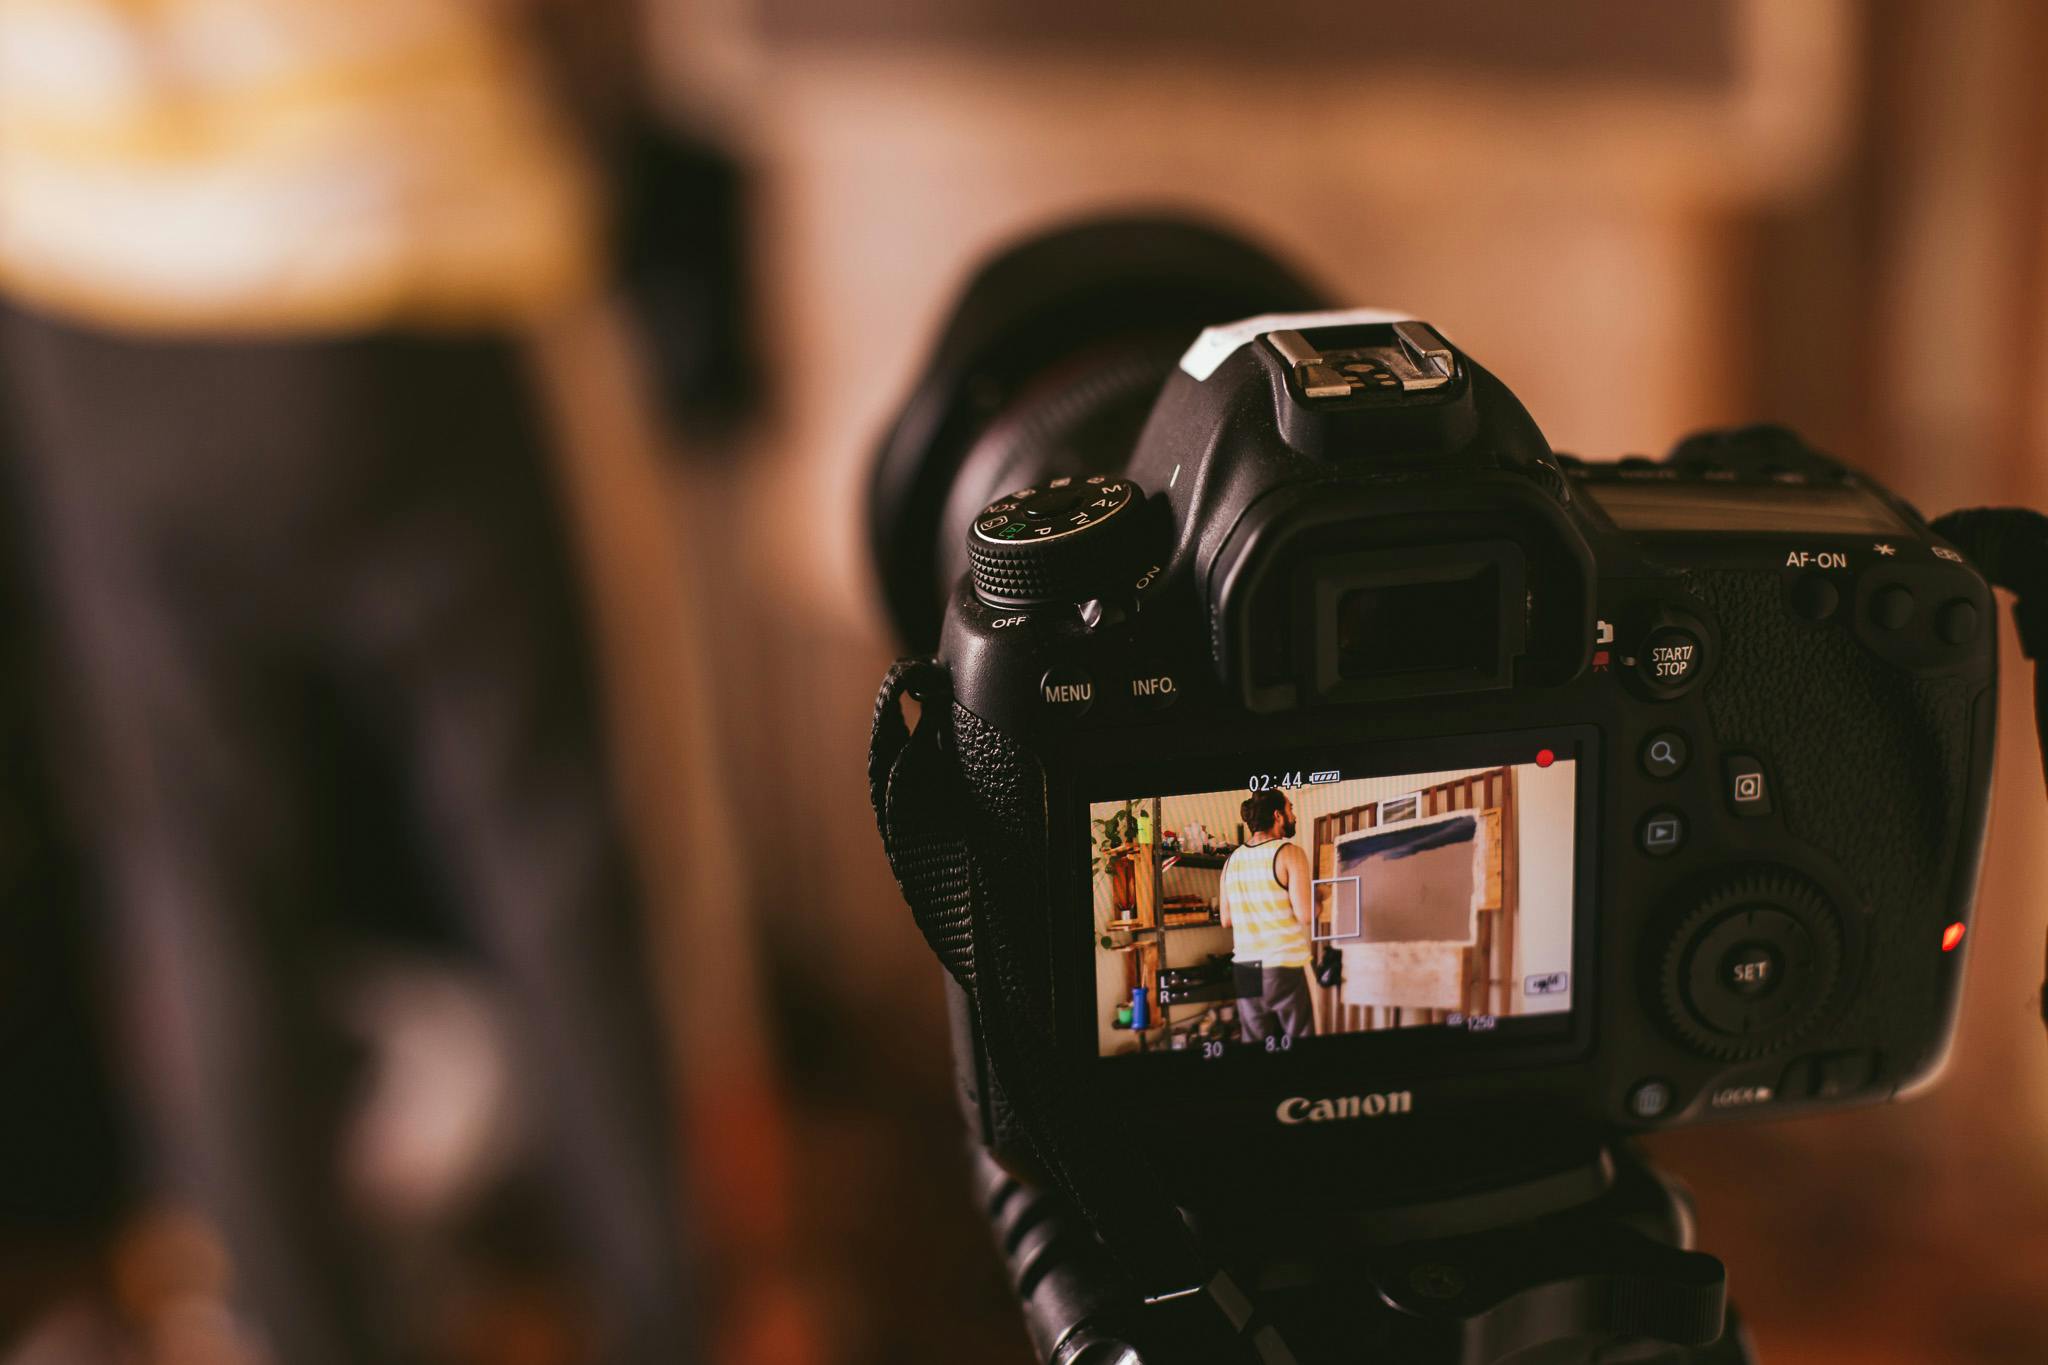
How to Find the Perfect Exposure
The key to a great photo is proper exposure, which means balancing shutter speed, aperture, and ISO. Here’s how you can do it:
- Start by setting your ISO based on the lighting conditions:
- Sunny day? Use ISO 100.
- Indoors? Start with ISO 400–800.
- Choose your aperture based on the effect you want:
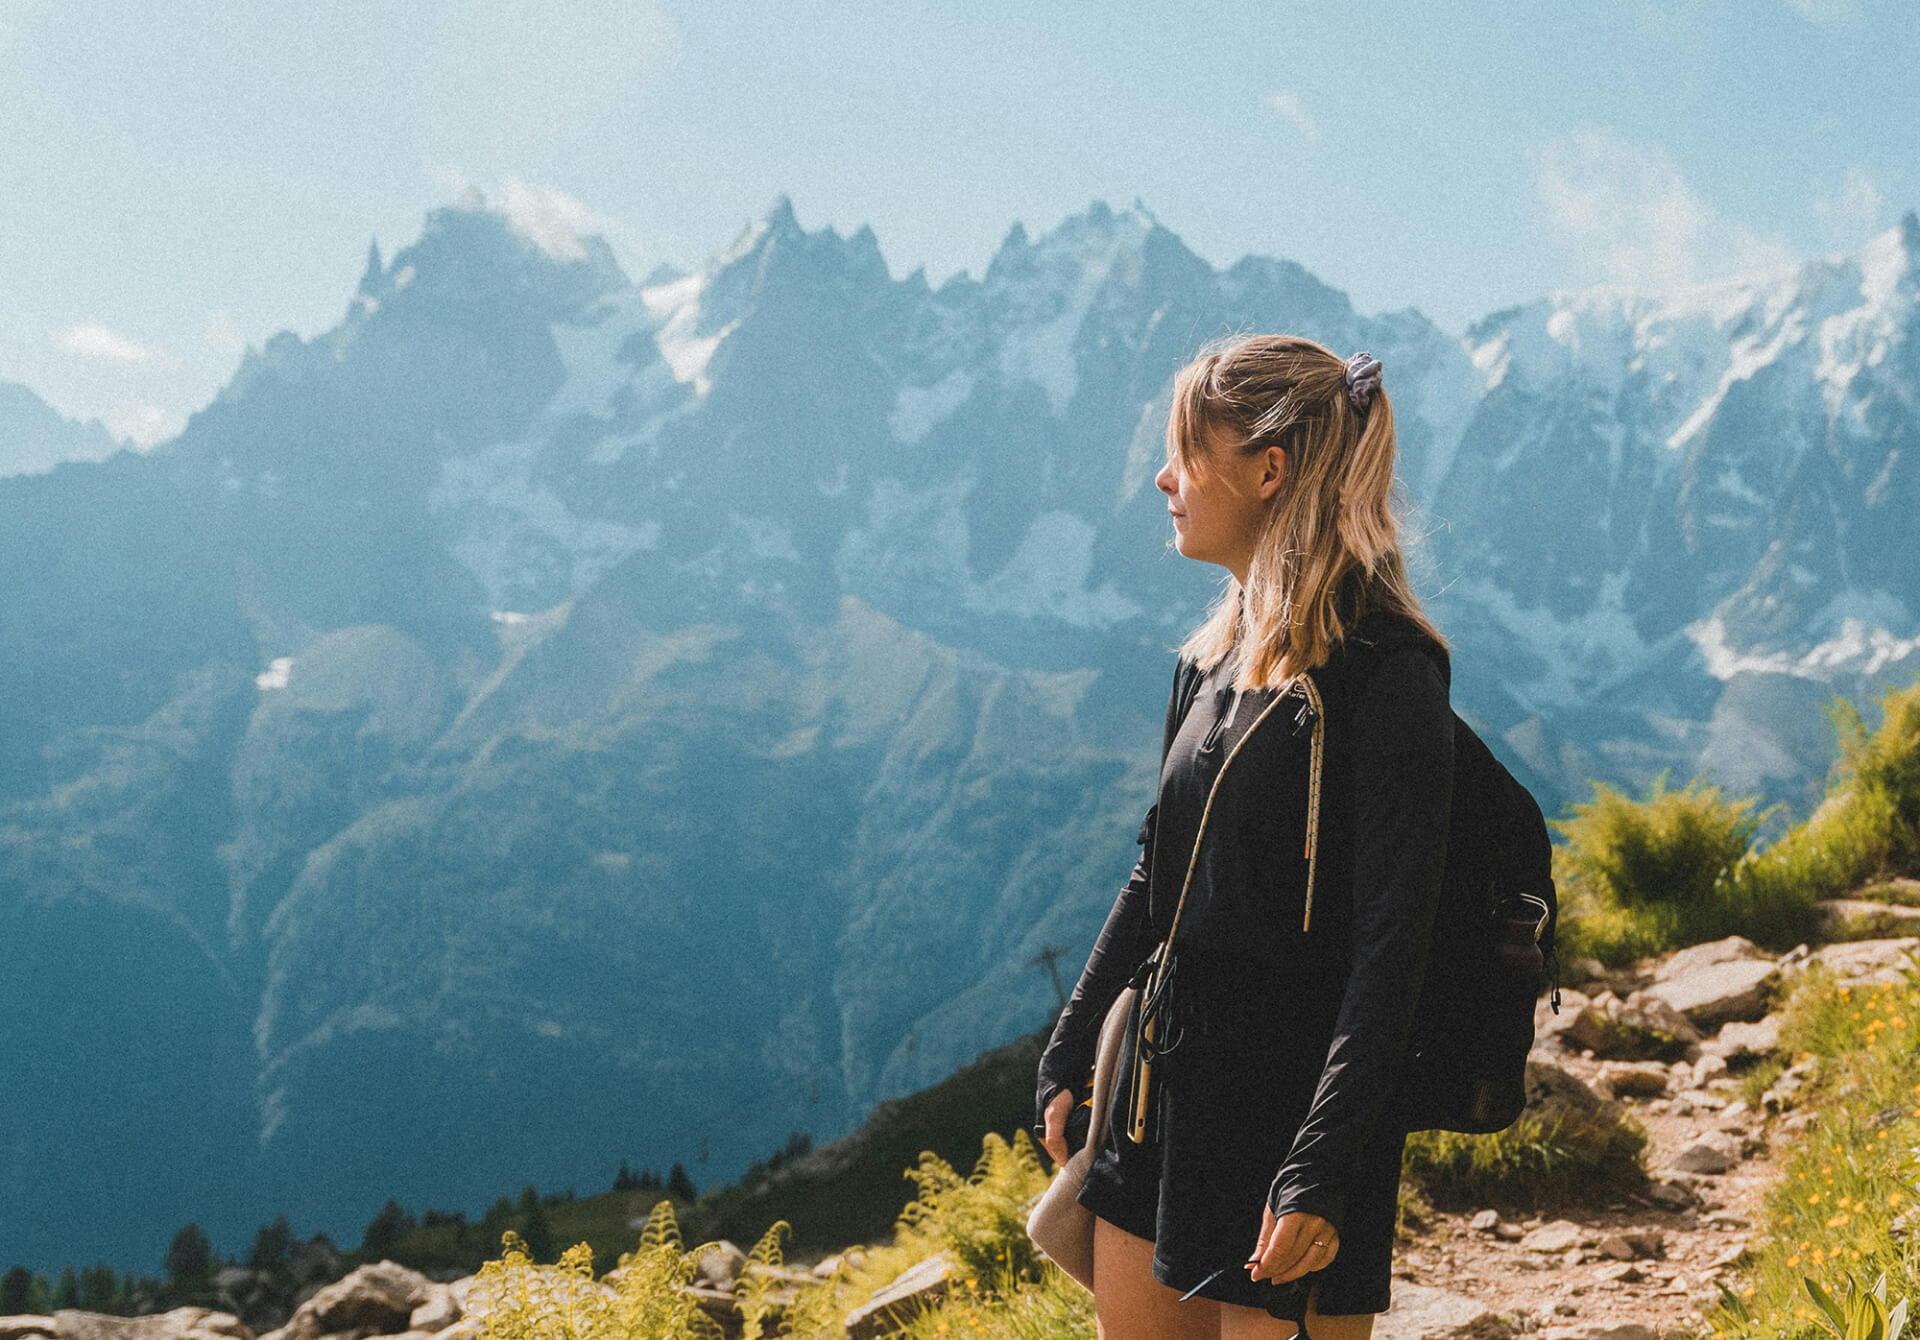
- Portraits? Try f/2.8.
- Landscapes? Go for f/11 or higher.
- Adjust shutter speed until the exposure meter in your camera (usually displayed in the viewfinder or LCD screen) shows a balanced reading.

Practice Makes Perfect
Here are a few practice exercises:
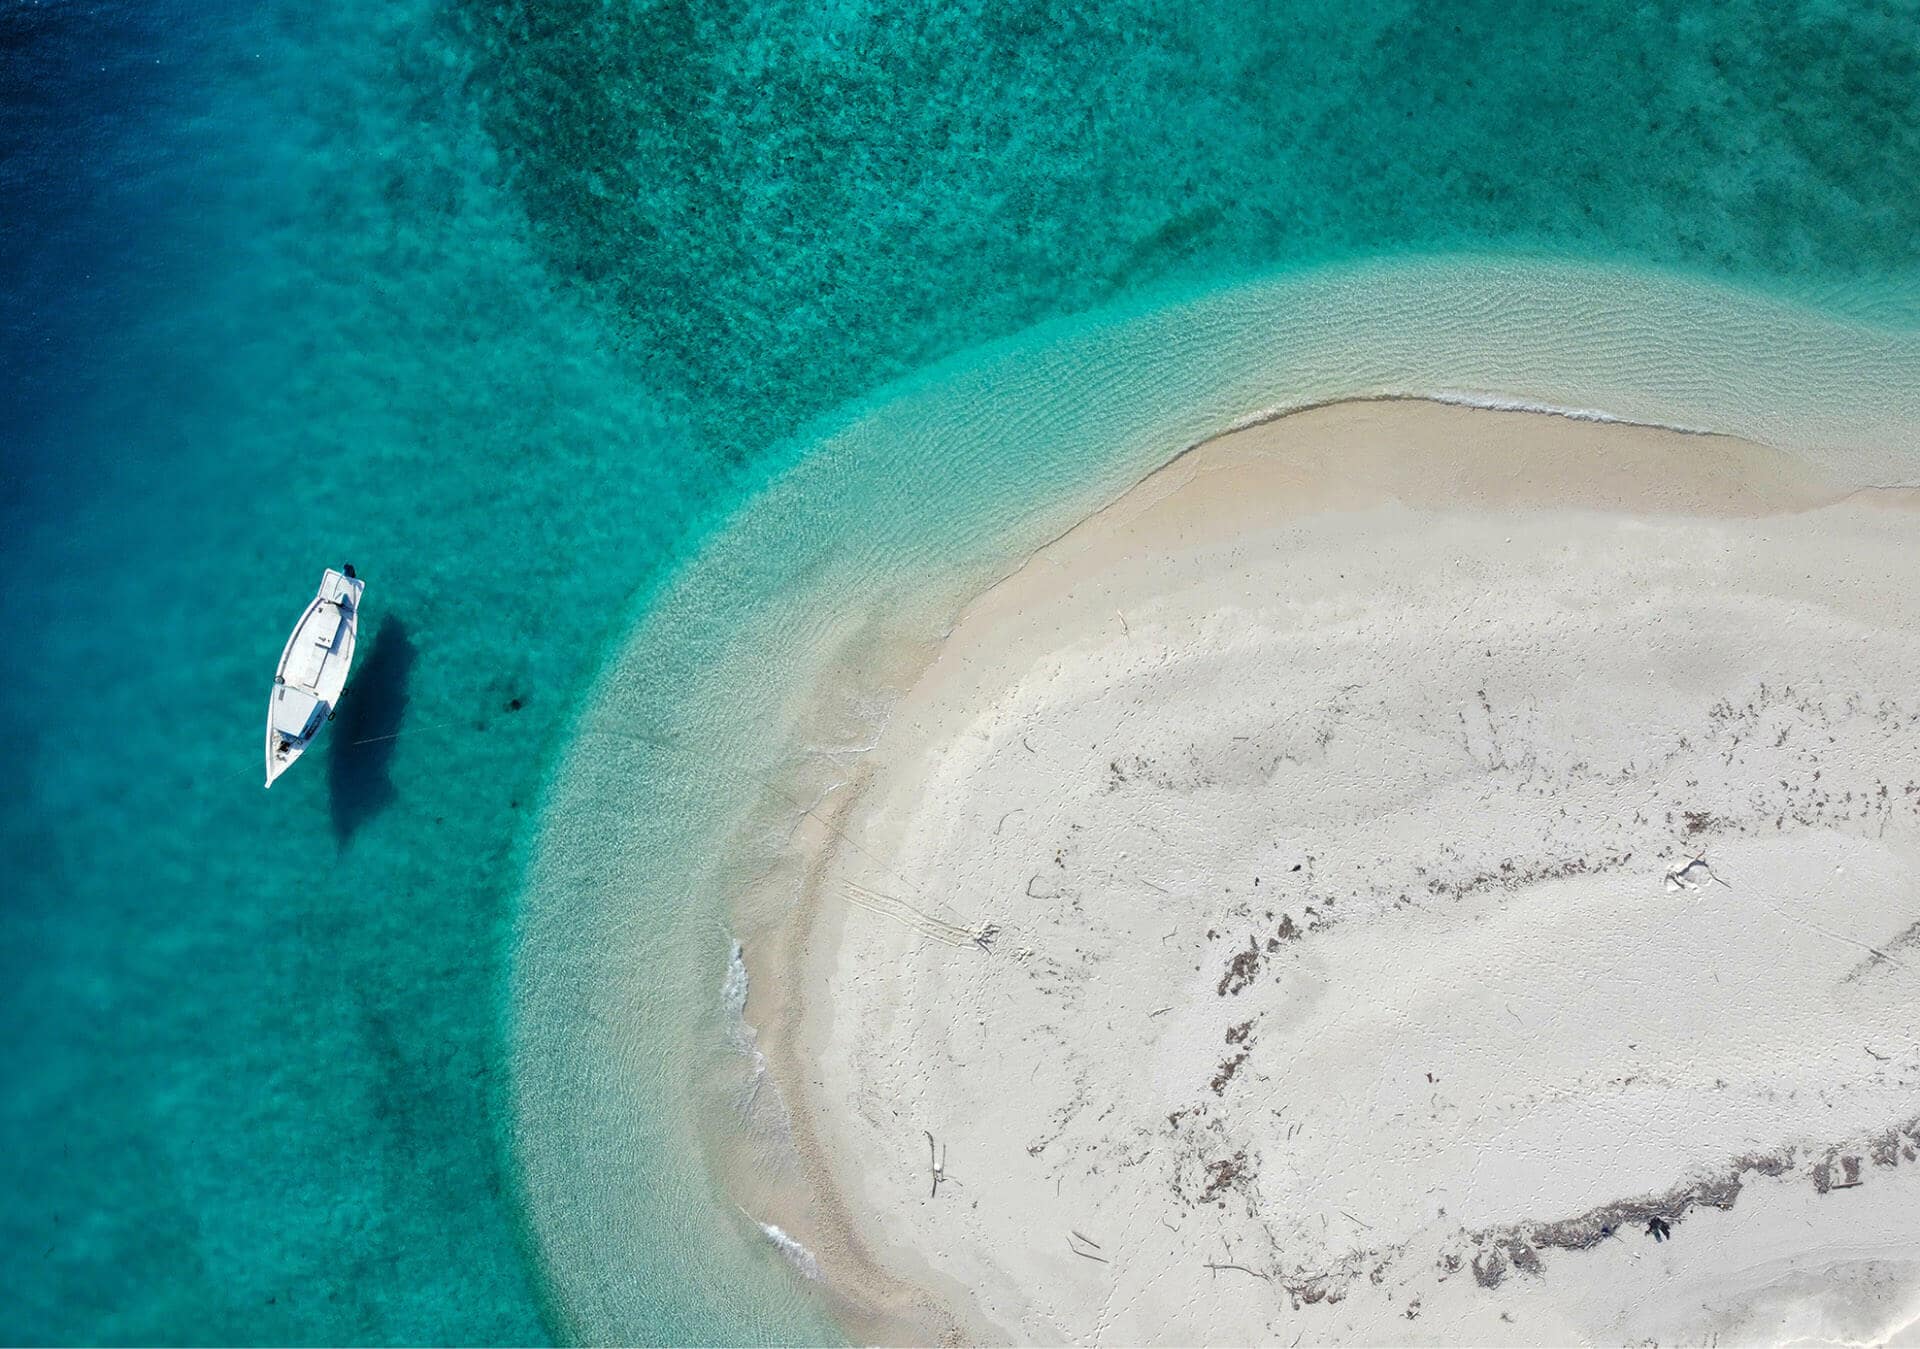
- Capture Movement: Try photographing a moving car or a waterfall. Experiment with slow shutter speeds to create motion blur or fast shutter speeds to freeze the action.
- Play with Depth of Field: Take a photo of a subject with a blurred background using a wide aperture (f/2.8). Then switch to a narrow aperture (f/16) and notice the difference.
- Test Low-Light Shooting: Practice shooting in low light with high ISO settings, and observe how noise affects your image.
Final Thoughts
Switching to manual mode gives you the freedom to be creative and develop your photography style. While the learning curve may seem steep, the results are worth it. Remember, photography is all about experimenting, so don’t be afraid to make mistakes and learn as you go.
Grab your camera, switch to manual mode, and start creating magic today!


Leave a Reply